Patching WLD from 9.0.1 --> 9.0.2
POSTED 17.02.2026
This article is a follow-up to my previous post: patching mgmt. In this guide, I’ll walk through how we approach upgrading Workload Domains in VCF 9
The update sequence we follow is:
SDDC Manager
NSX
vCenter Server
ESXi hosts
vSAN
This update order is important, as it maintains compatibility between platform services and the underlying infrastructure components throughout the lifecycle process.
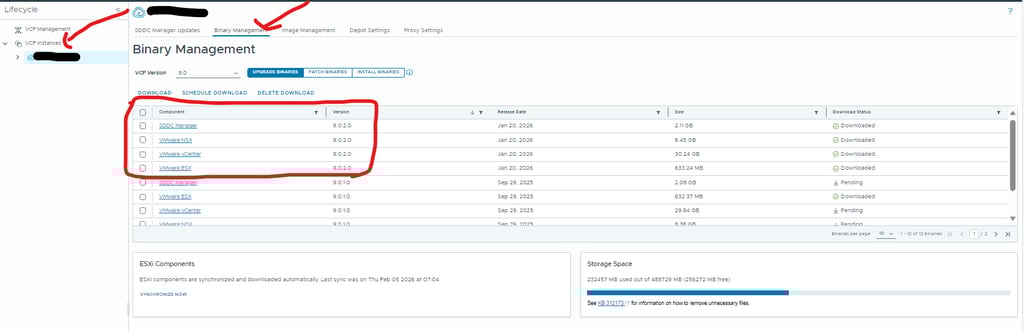
Step 1 — Download the Upgrade Binaries
Start by downloading all required binaries from Lifecycle Manager.
Navigate to Lifecycle → VCF Instances, select the top-level VCF instance, then go to Binary Management → Upgrade Binaries.
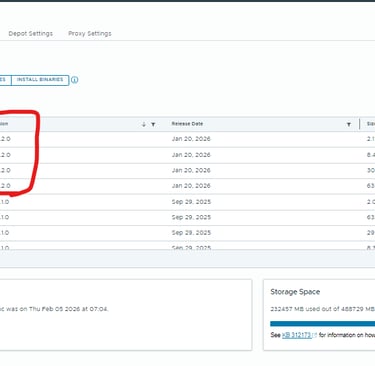
From here, download version 9.0.2 for the following components:
SDDC Manager
NSX
vCenter Server
ESXi hosts
Make sure all binaries are fully synchronized before proceeding to the next phase, as Lifecycle operations depend on these packages being available locally.
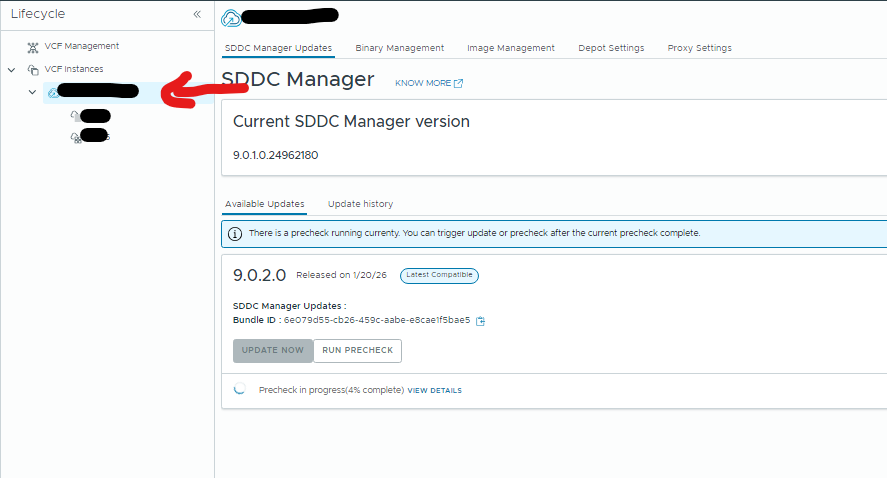
Step 1 — Update SDDC Manager
Now you’re ready to begin patching SDDC Manager.
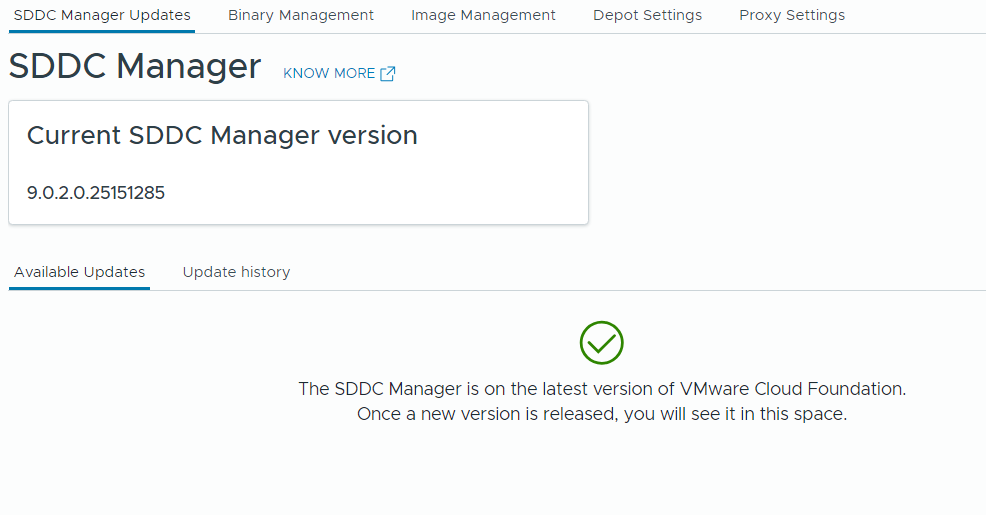
Navigate to Lifecycle → VCF Instances, select the top-level VCF instance, and you will see the available SDDC Manager updates.
Start by running a Precheck to verify that the environment is ready for the upgrade. This step validates dependencies, health status, and configuration requirements, and should always be completed before proceeding.
Once all checks pass and the system reports that it is ready, click Update Now to begin the upgrade process.
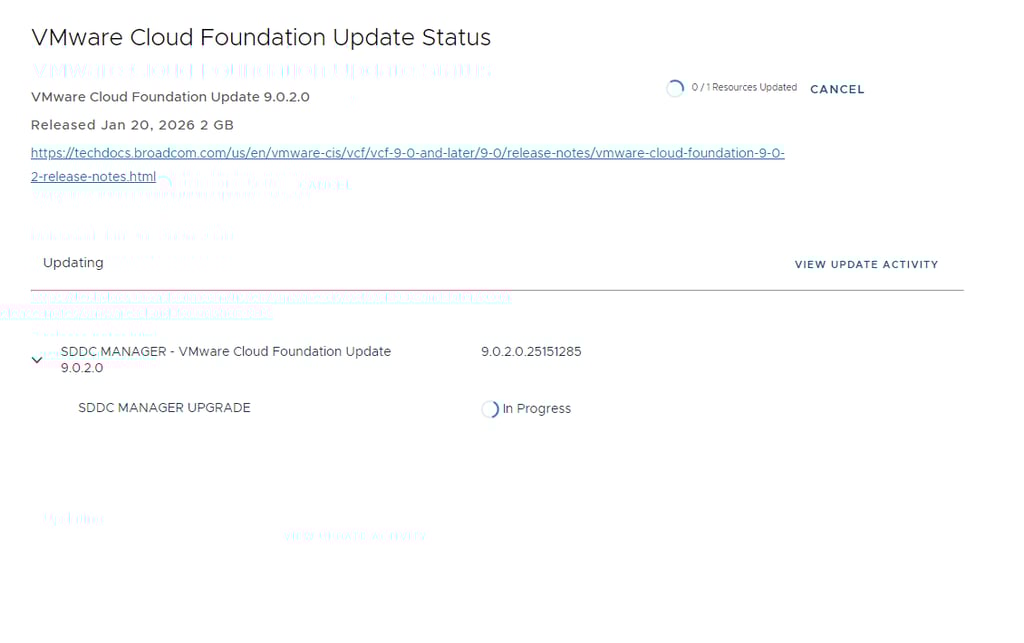
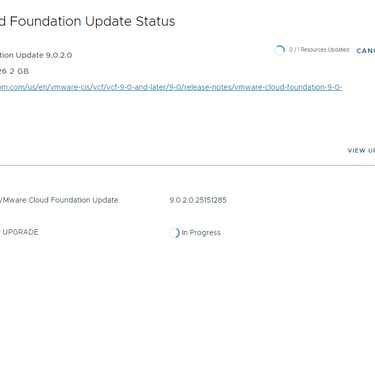
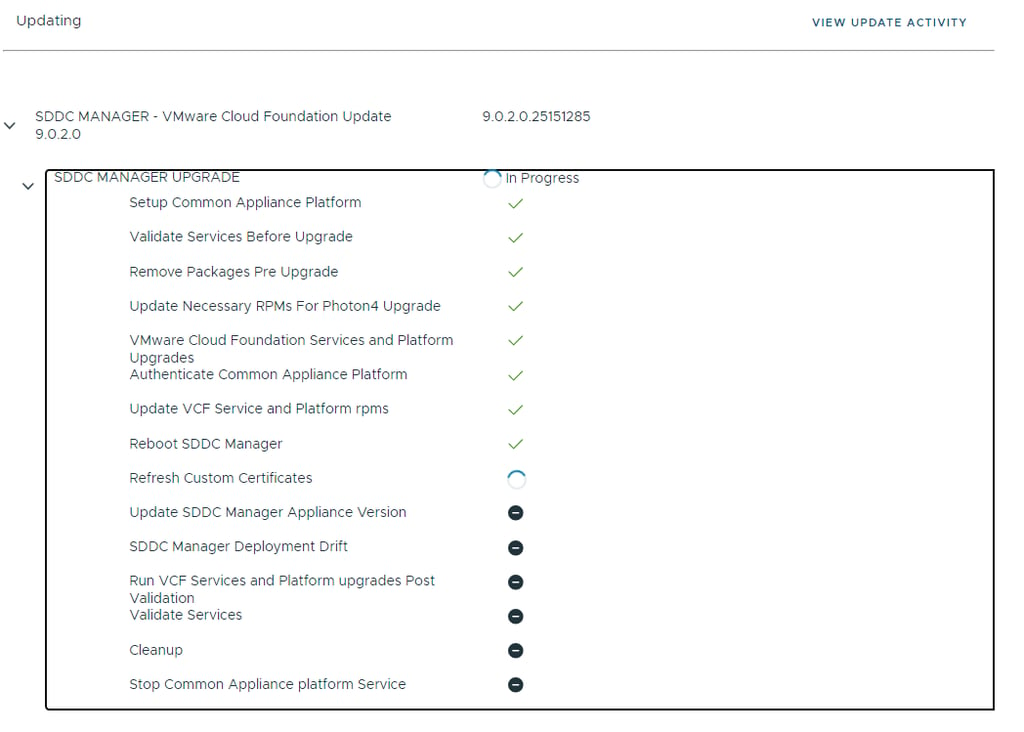
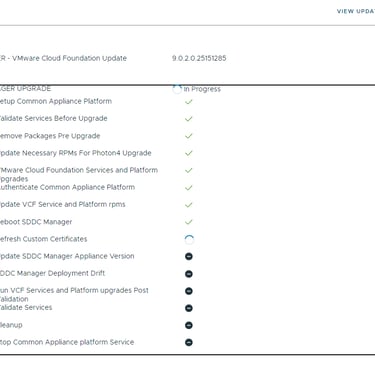
During the upgrade process you may temporarily see alarms or error messages. This is expected, as SDDC Manager will reboot as part of the patching workflow. Give it a few minutes, once the services come back online, the alerts should clear automatically.
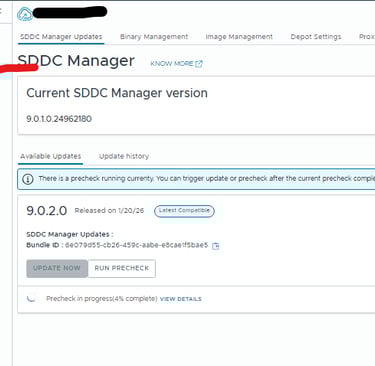
After the system is back up, verify that the patch has been successfully applied here:

Step 2 — Run Prechecks
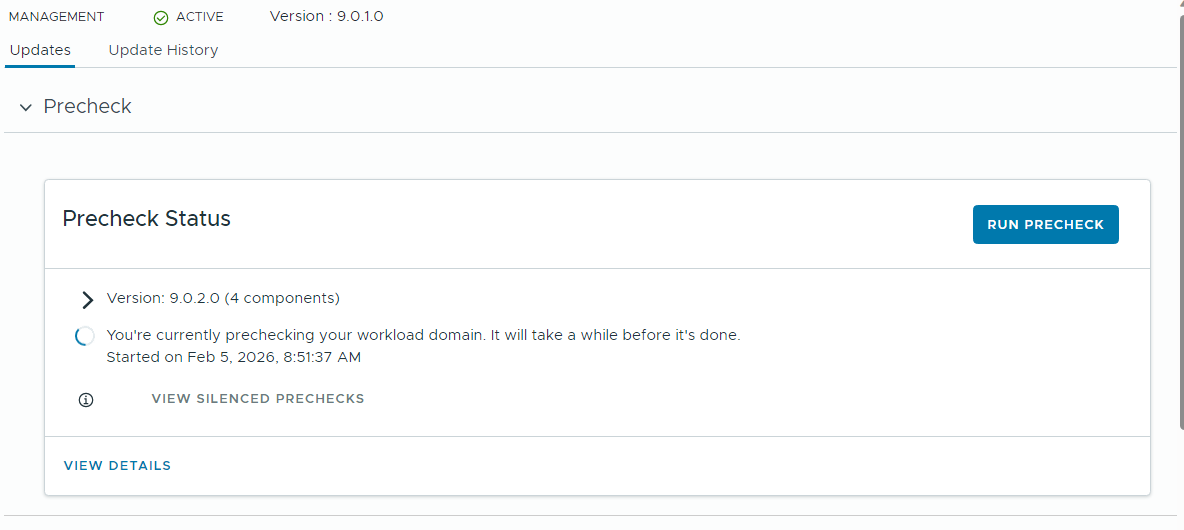
Just like in the previous step, start by running Prechecks for the remaining core components before initiating any upgrades.
Navigate to Fleet Management → Lifecycle → VCF Instances, then select the VCF environment you plan to update. From here, run the precheck workflow to validate that all dependencies, health states, and configuration requirements are in place before proceeding with the lifecycle operations.
Step 2 — Update NSX
Once the precheck completes without any errors, you’re ready to begin patching the first core component, NSX.
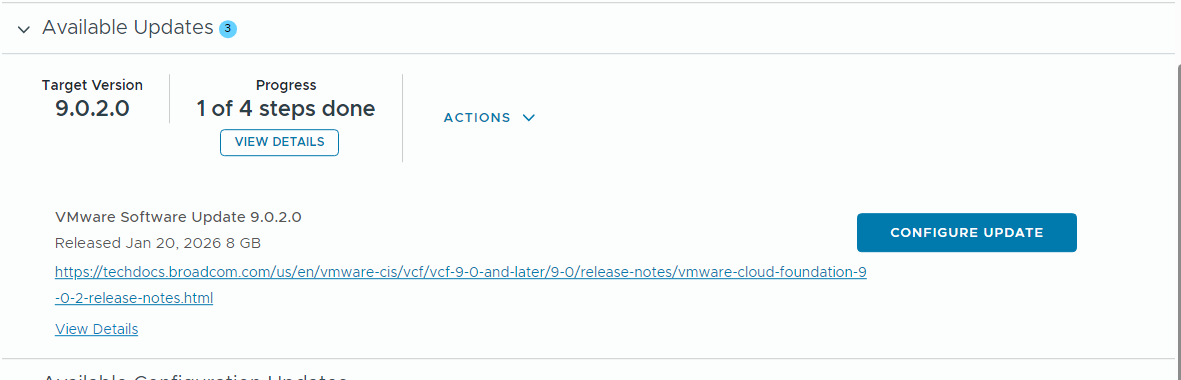
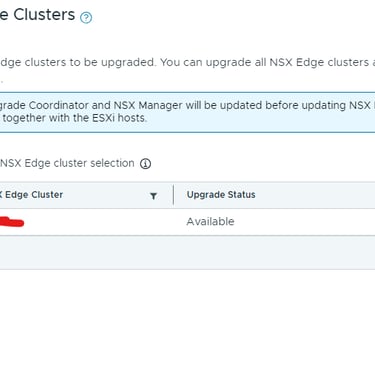
Navigate to Fleet Management → Lifecycle → VCF Instances, and select the VCF environment you want to upgrade. Under Updates, just below the precheck section, you’ll see the available upgrades along with the four-step workflow that tracks the upgrade progress.
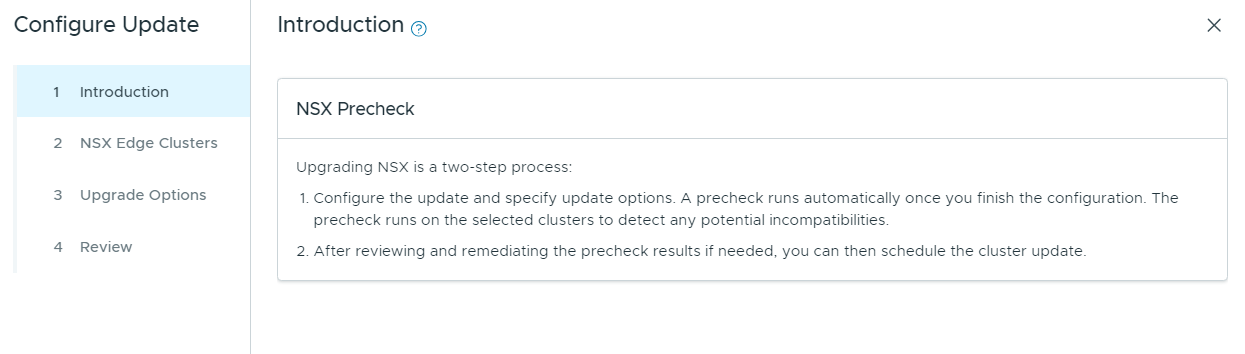
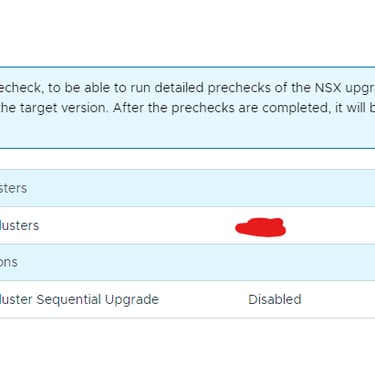
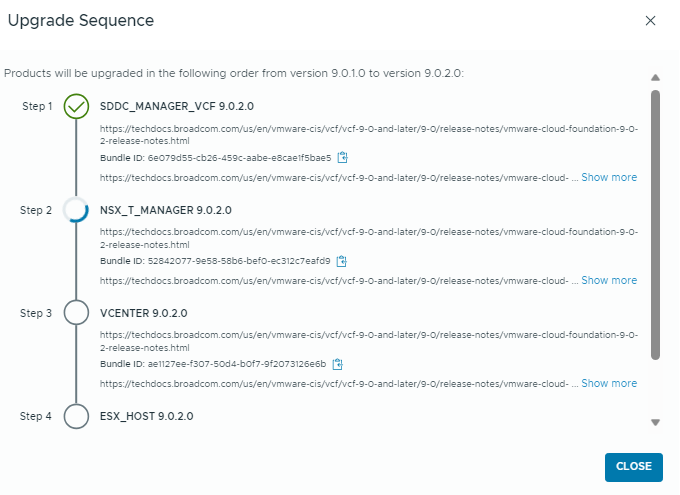
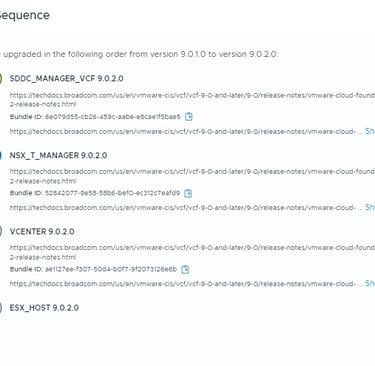
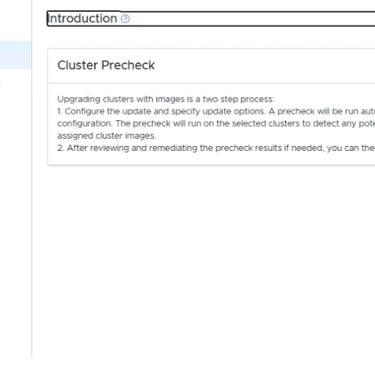
Click Configure Update to begin. The process starts with the NSX Precheck, which gives you an overview of the upgrade workflow and validates that all prerequisites and environmental requirements are met before continuing with the upgrade.
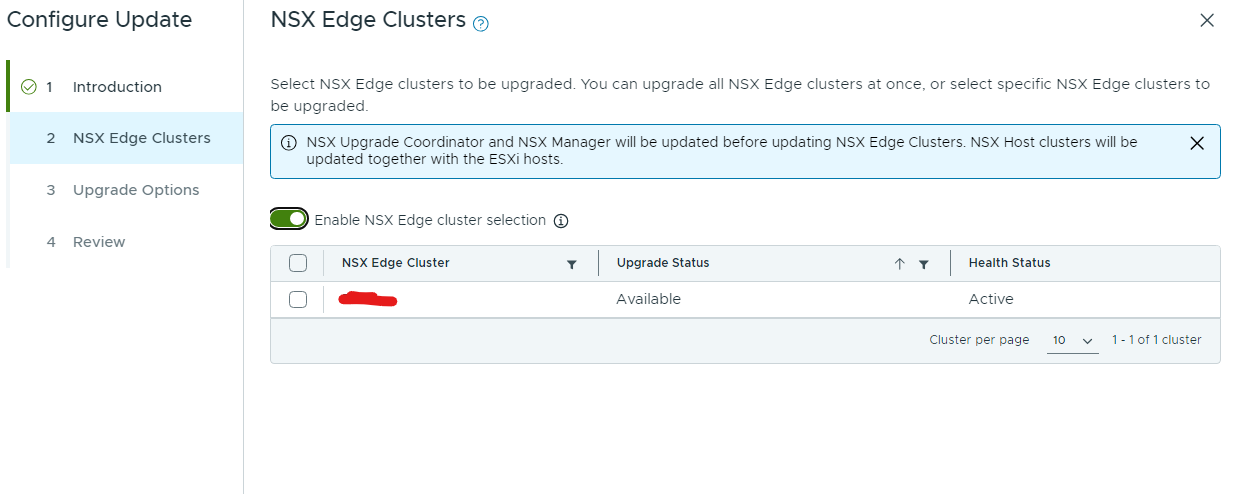
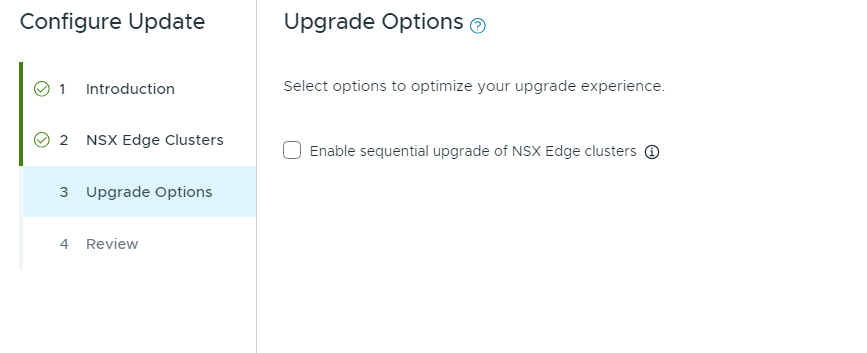
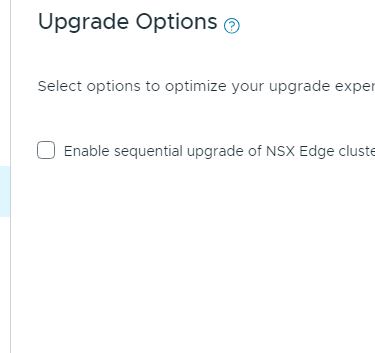
After selecting Configure Update, NSX will first run through a Precheck phase followed by the Upgrade Options step, where you review and confirm the upgrade settings before the process continues.
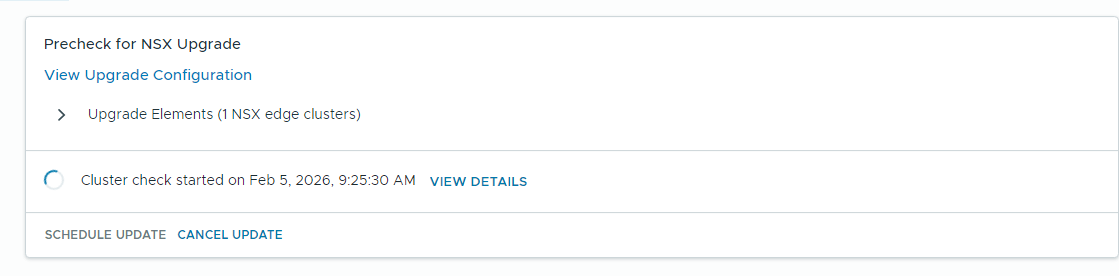
The Precheck will now start automatically. This step can take some time to complete, so allow it to finish and avoid making any changes in the environment while the validation is running.
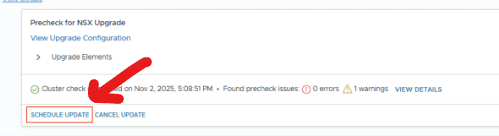
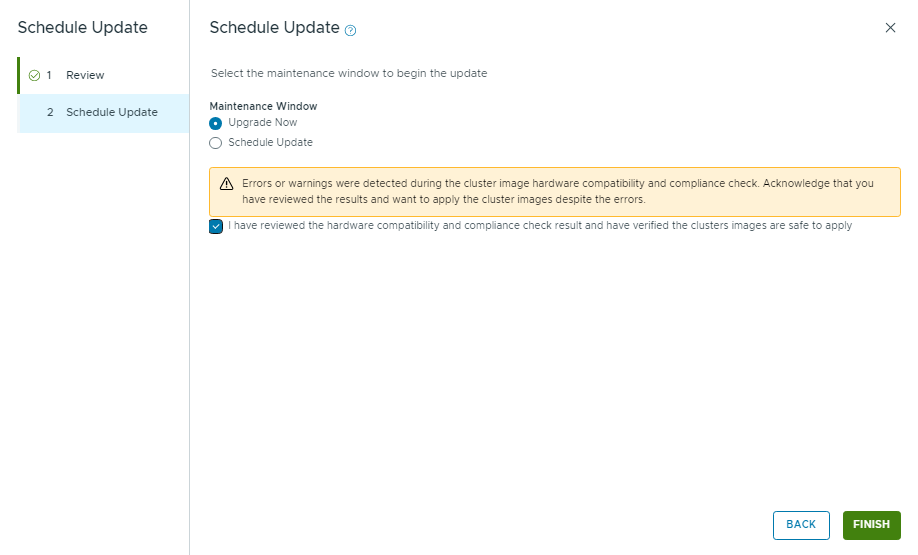
Next, you can start the NSX upgrade. Click Schedule Update to define when the upgrade should begin, allowing you to choose a suitable maintenance window before the process starts.
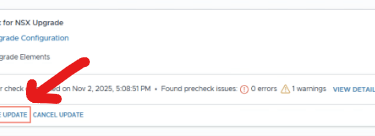
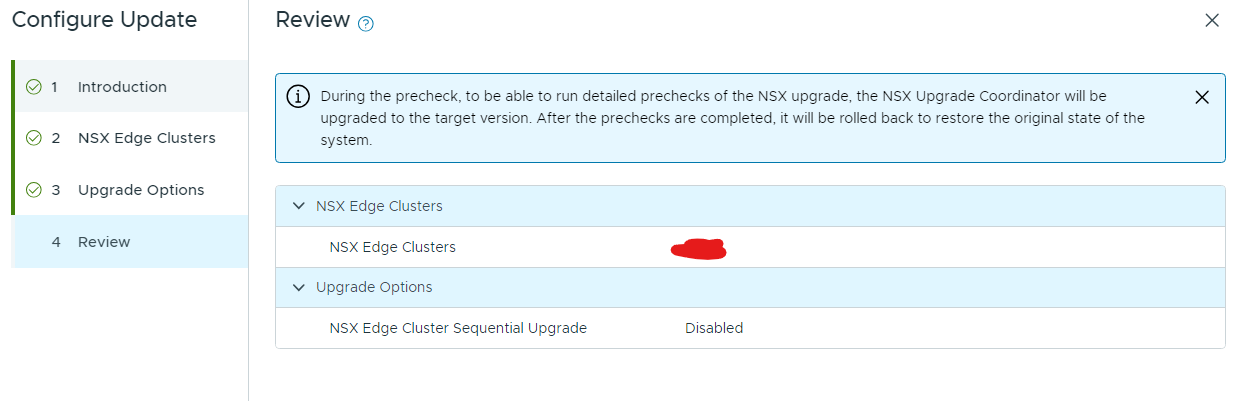
The first page provides a review summary of what will be updated. After confirming the details, continue to the scheduling stage.
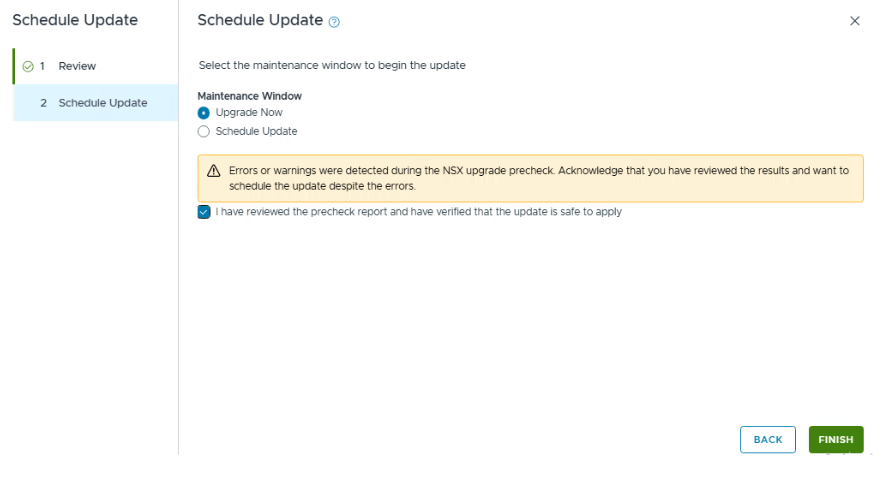
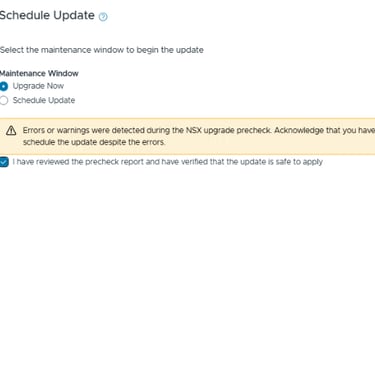
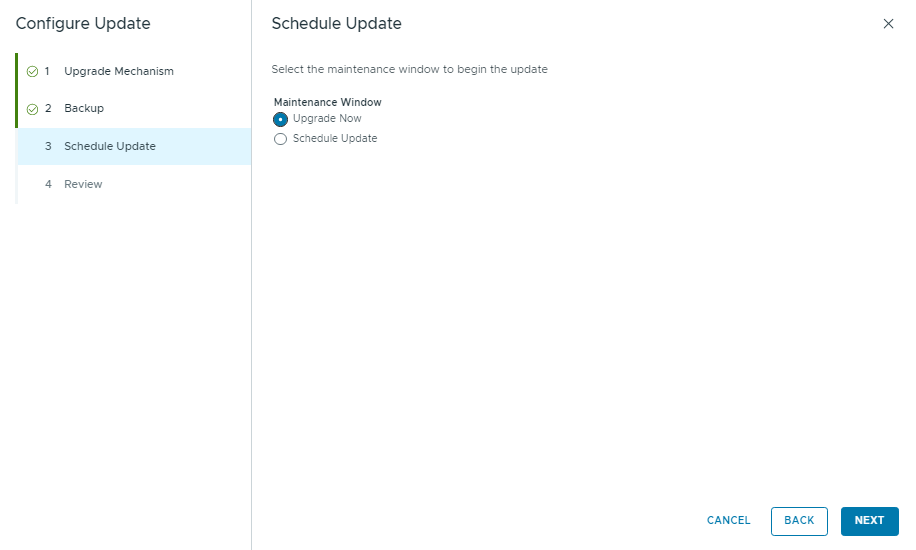
In this step, I selected Upgrade Now and confirmed that the precheck results had been reviewed before proceeding with the upgrade.
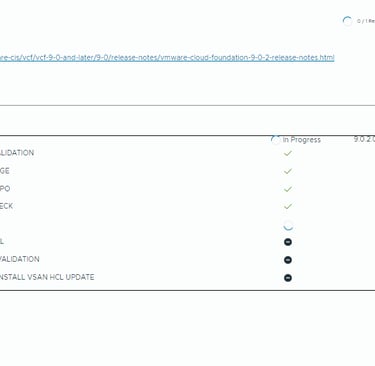
You can monitor the upgrade status from this view as the process progresses.
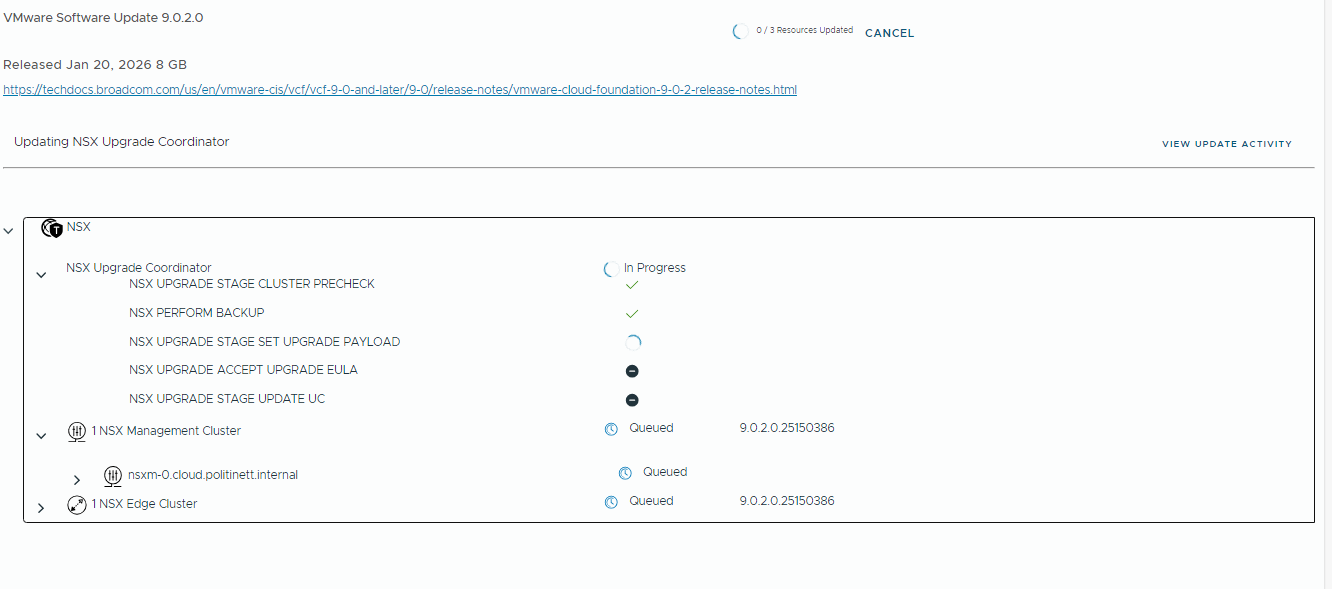
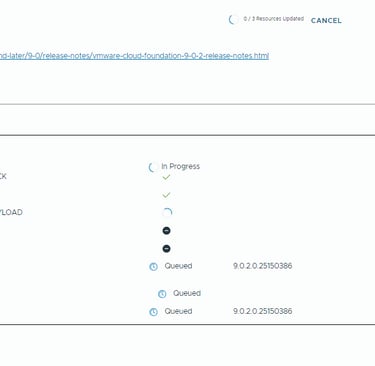
This is how the upgrade status appears during the process.
Step 3 — vCenter
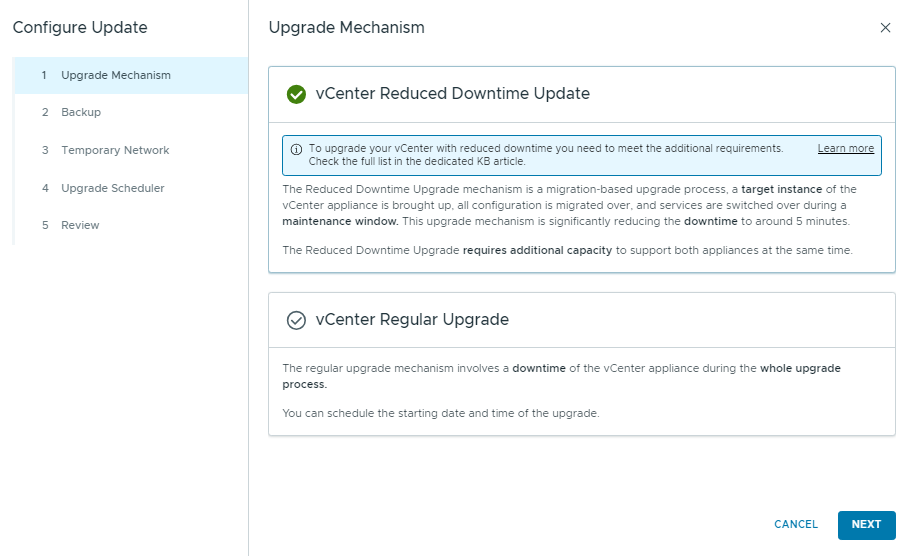
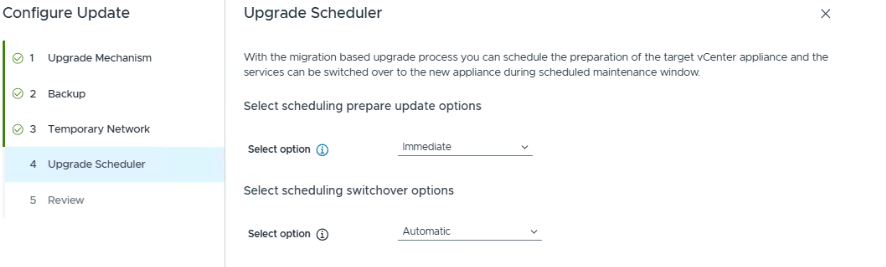
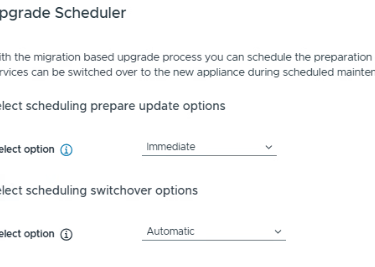
Once the NSX upgrade is complete, you can continue with vCenter Server. The next step is to configure the vCenter update workflow. Click configure update to begin configuring the upgrade process.
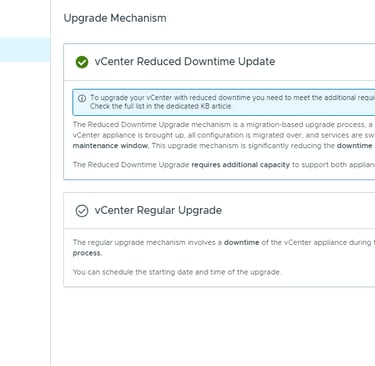
The first option is the upgrade mechanism, where you can choose methods that help reduce vCenter downtime during the upgrade. I chose the regular upgrade since this is a POC enviroment.
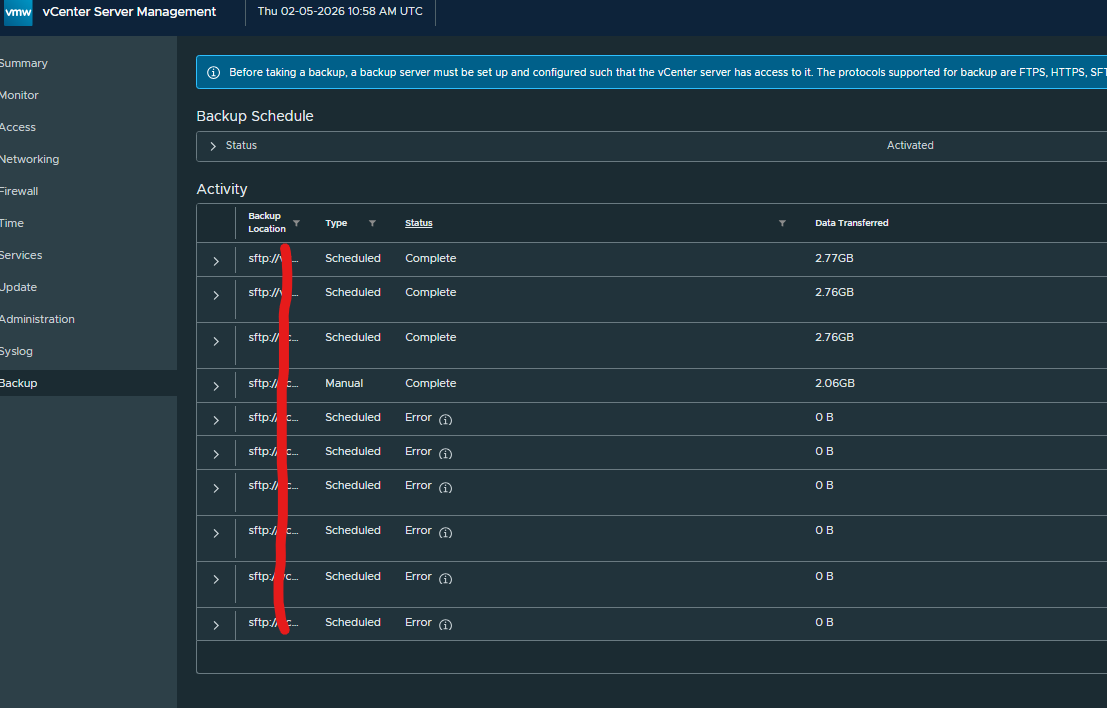
Next is the backup option. Always verify that a valid backup of the vCenter Server exists before proceeding. Check VAMI for successfull backup. After confirming this, click Next to continue.
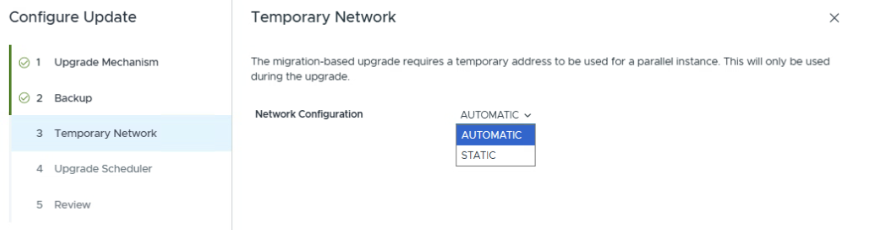
If you chose the option with reduced downtime, you have some more options here. If you’ve upgraded vCenter Server before, you’ll probably remember the need to provide a temporary static IP address for the migration phase. This IP was used by a temporary appliance that handled the configuration copy from the existing vCenter to the new one.
With VCF 9.0, this workflow is much simpler. The platform now assigns a temporary IP automatically during the upgrade, using a link-local network (169.254.0.0/16) that is established directly between the source and target vCenter VMs. This removes the need for manual IP planning and reduces the risk of configuration errors during the upgrade process.
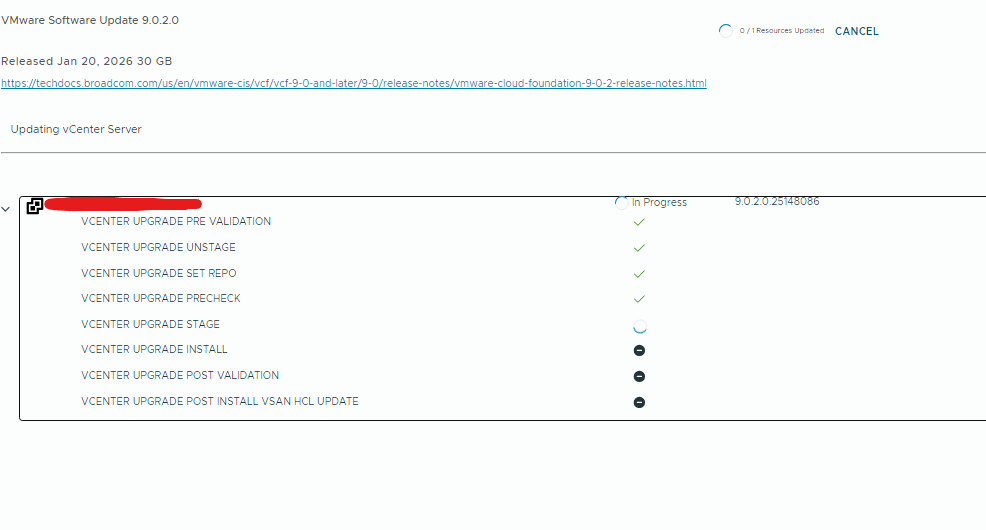
Press next and monitor the upgrade
Step 3 — ESX
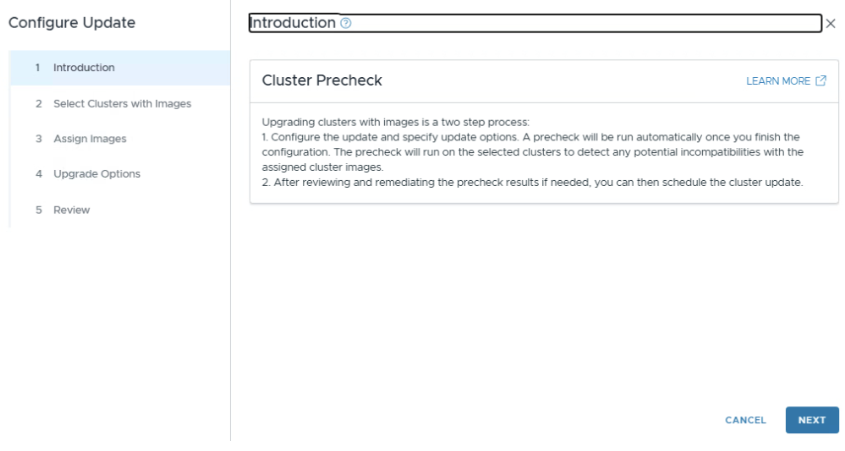
Once the vCenter upgrade is complete, proceed with the ESXi upgrade. The next step is to configure the ESXi update workflow, click Configure Update to begin the upgrade process.
The first step is to create the image you want to use. If you want to create a custom iso or just a plane image. We created a custom iso and uploaded it in vcenter
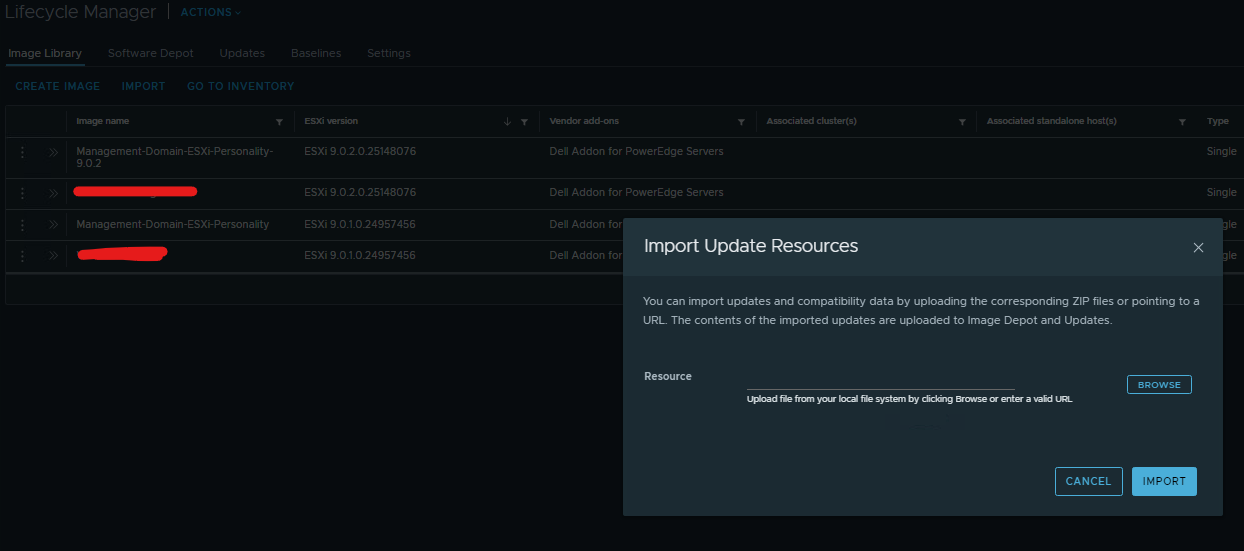
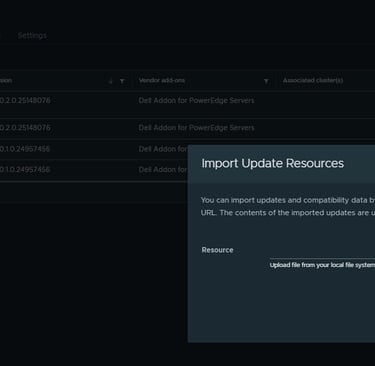
After the image was successfully imported, I navigated back to the Management Domain to continue with the ESXi host upgrade.
The next step is to configure the ESX update workflow. Click Configure update to begin configuring the upgrade process.
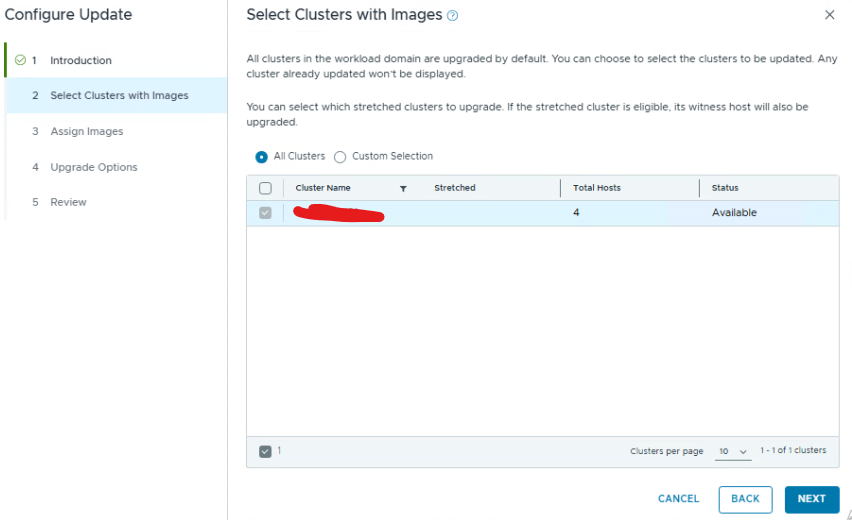
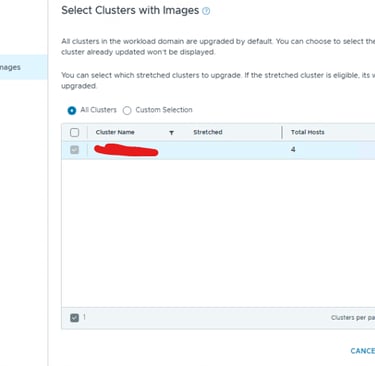

Choose the clusters you want to update
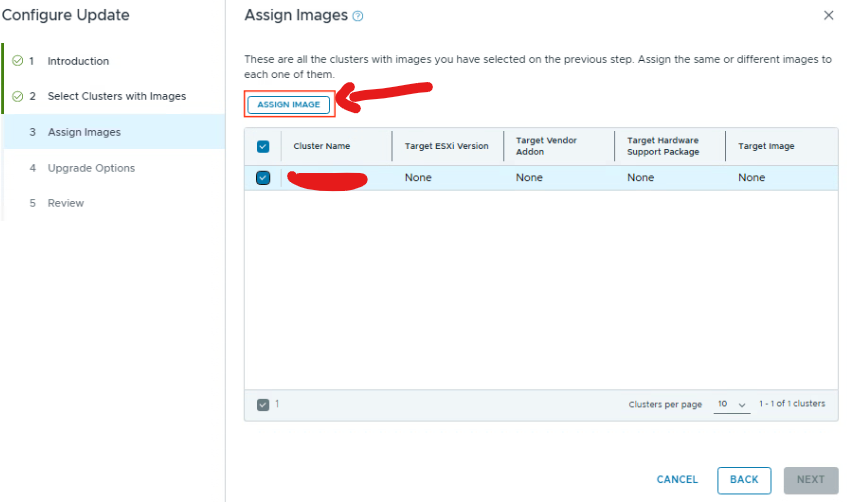
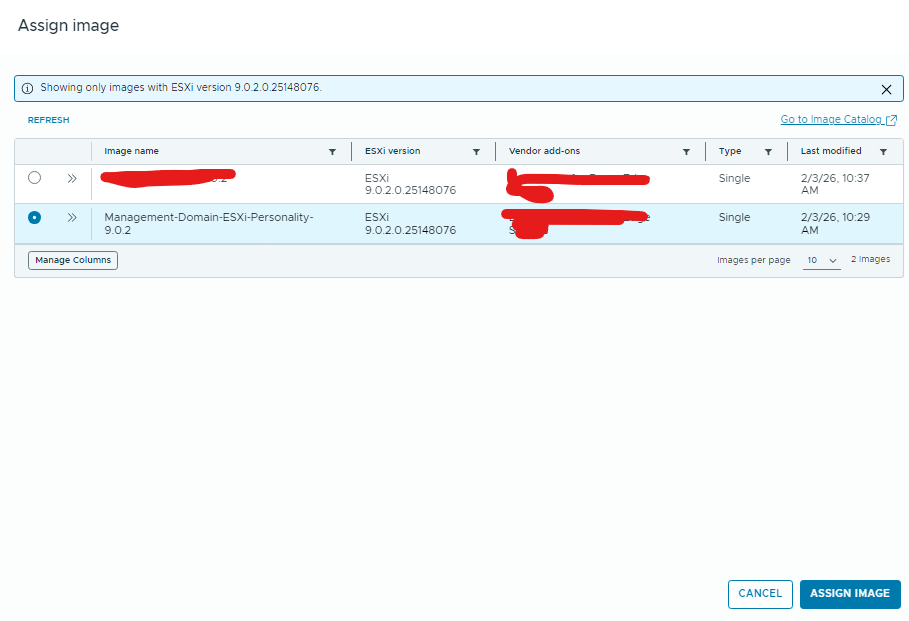
Assign the image you uploaded in the previous step
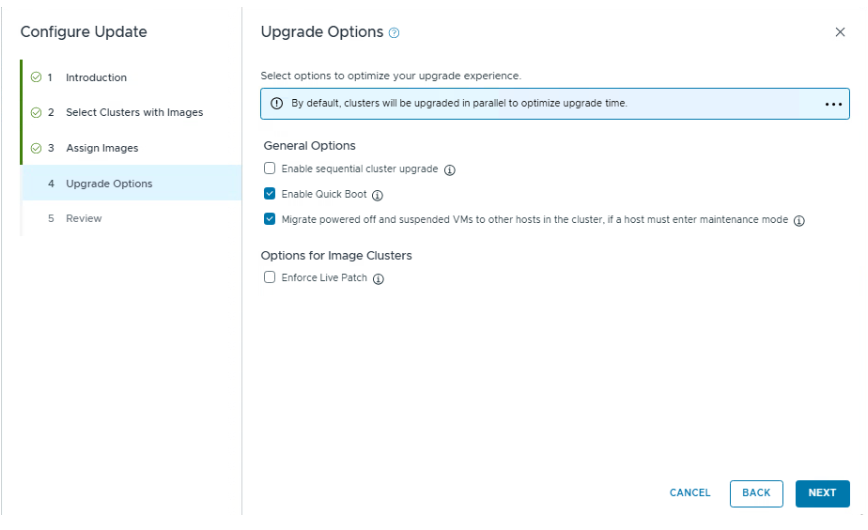
The Upgrade Options allow you to optimize how the upgrade is performed. You can enable Quick Boot to reduce host reboot time and choose to automatically migrate powered-off or suspended VMs when a host enters maintenance mode. By default, clusters are upgraded in parallel to help minimize the overall upgrade duration.
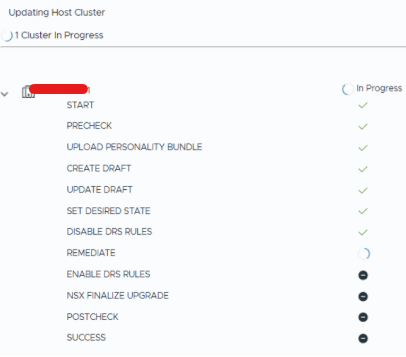
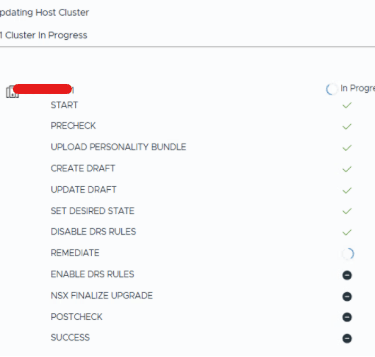
After the precheck completed successfully, I moved on to scheduling the upgrade to start the ESXi host update process.


Monitor the update process.
Step 5 — Supervisor
In earlier versions of vSphere, Supervisor was bundled with vCenter Server and updated as part of the same lifecycle process. Starting with vSphere 9.0, Supervisor is delivered as a separate component. This allows administrators to install or upgrade Supervisor independently of vCenter, providing greater flexibility in lifecycle management and enabling quicker access to new features and security updates.
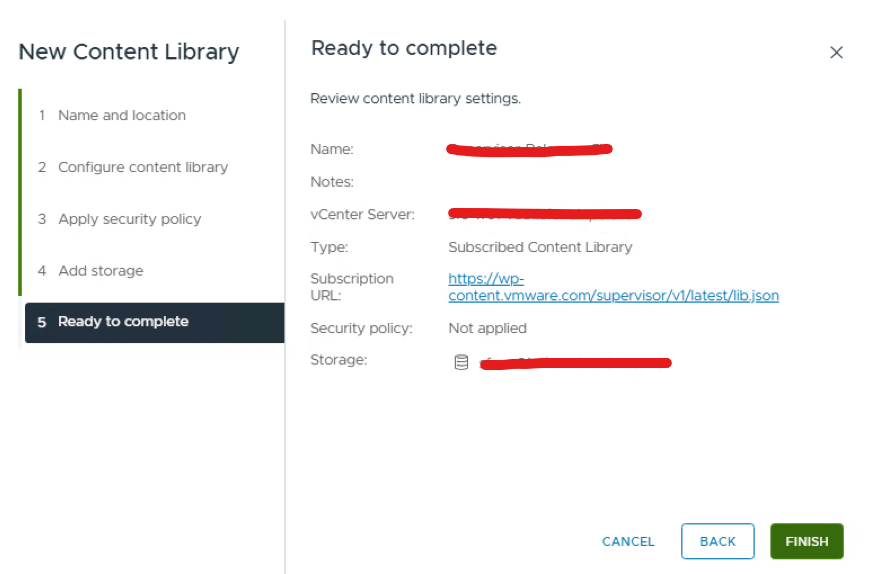
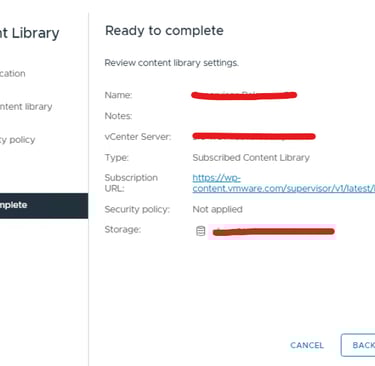
First you need to create a content library and subscribe to:
https://wp-content.vmware.com/supervisor/v1/latest/lib.json
https://techdocs.broadcom.com/us/en/vmware-cis/vcf/vcf-9-0-and-later/9-0/vsphere-supervisor-installation-and-configuration/updating-vsphere-supervisor/updating-the-vsphere-with-tanzu-environment/create-a-supervisor-asynchrounious-releases-content-library.html
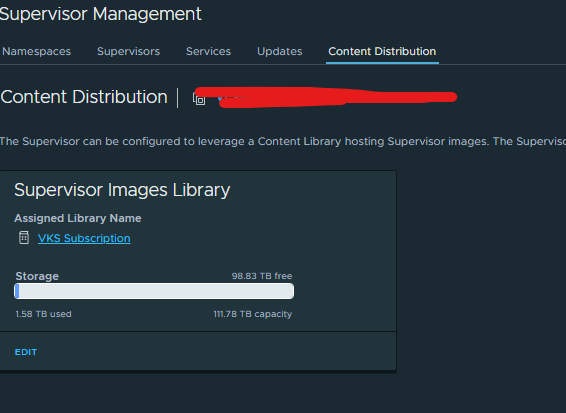
Then assign that content library to the supervisor manegment

The next step is to check for available Supervisor updates. Navigate to the Updates section, where you can see if a newer Supervisor version is available. Select Apply Updates to initiate the Supervisor upgrade process.
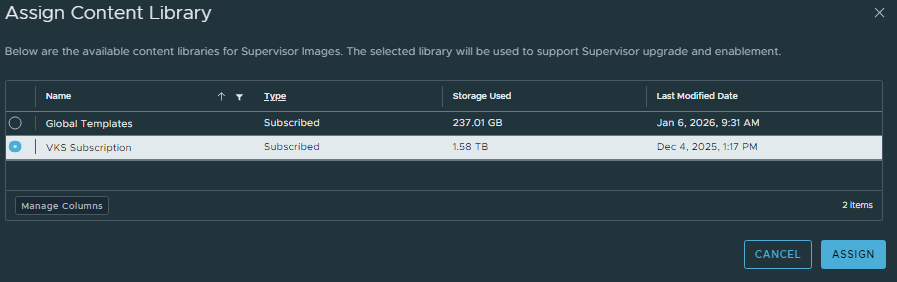
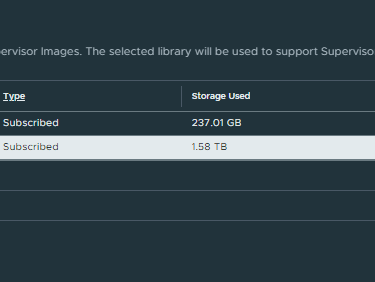

Select the content library newly created
You can also choose between two preparation options:
Immediate — the preparation phase begins as soon as the configuration is completed.
Scheduled — lets you define a specific date and time for when the preparation phase should start
Since I selected the standard update method, my available options were limited to either starting the upgrade immediately or scheduling it for a later time.
Step 5 — review
Upgrading from VCF 9.0.1 to 9.0.2 was a smooth and well-structured lifecycle process, with most of the work handled directly through SDDC Manager and Fleet Management. The workflow is very guided, starting with binary downloads, followed by prechecks, and then upgrading each core component in the correct order (SDDC Manager, NSX, vCenter, ESXi, and finally vSAN disk format).
VirtualViking
Plundering the Old Ways, Automating the New!
Tech
© 2024. All rights reserved.